Selecting industrial warehouse racking systems requires a structural and operational framework—not a simple equipment purchase. These systems represent the vertical skeleton of any distribution center, directly influencing storage density, picking efficiency, and worker safety over a 15- to 25-year service life. This guide dissects industrial warehouse racking systems by archetype (selective, drive-in, push-back, pallet flow, cantilever), load path engineering, floor interaction, and seismic/fire code compliance. Drawing from RMI (Rack Manufacturers Institute), FEM 10.2.02, and AS4084 standards, we provide data-backed criteria to match rack configuration to inventory velocity, SKU dimensions, and material handling equipment. Avoid the trap of choosing solely by upfront price—learn how structural gauge, beam connector design, and anchor pattern drive total cost of ownership.
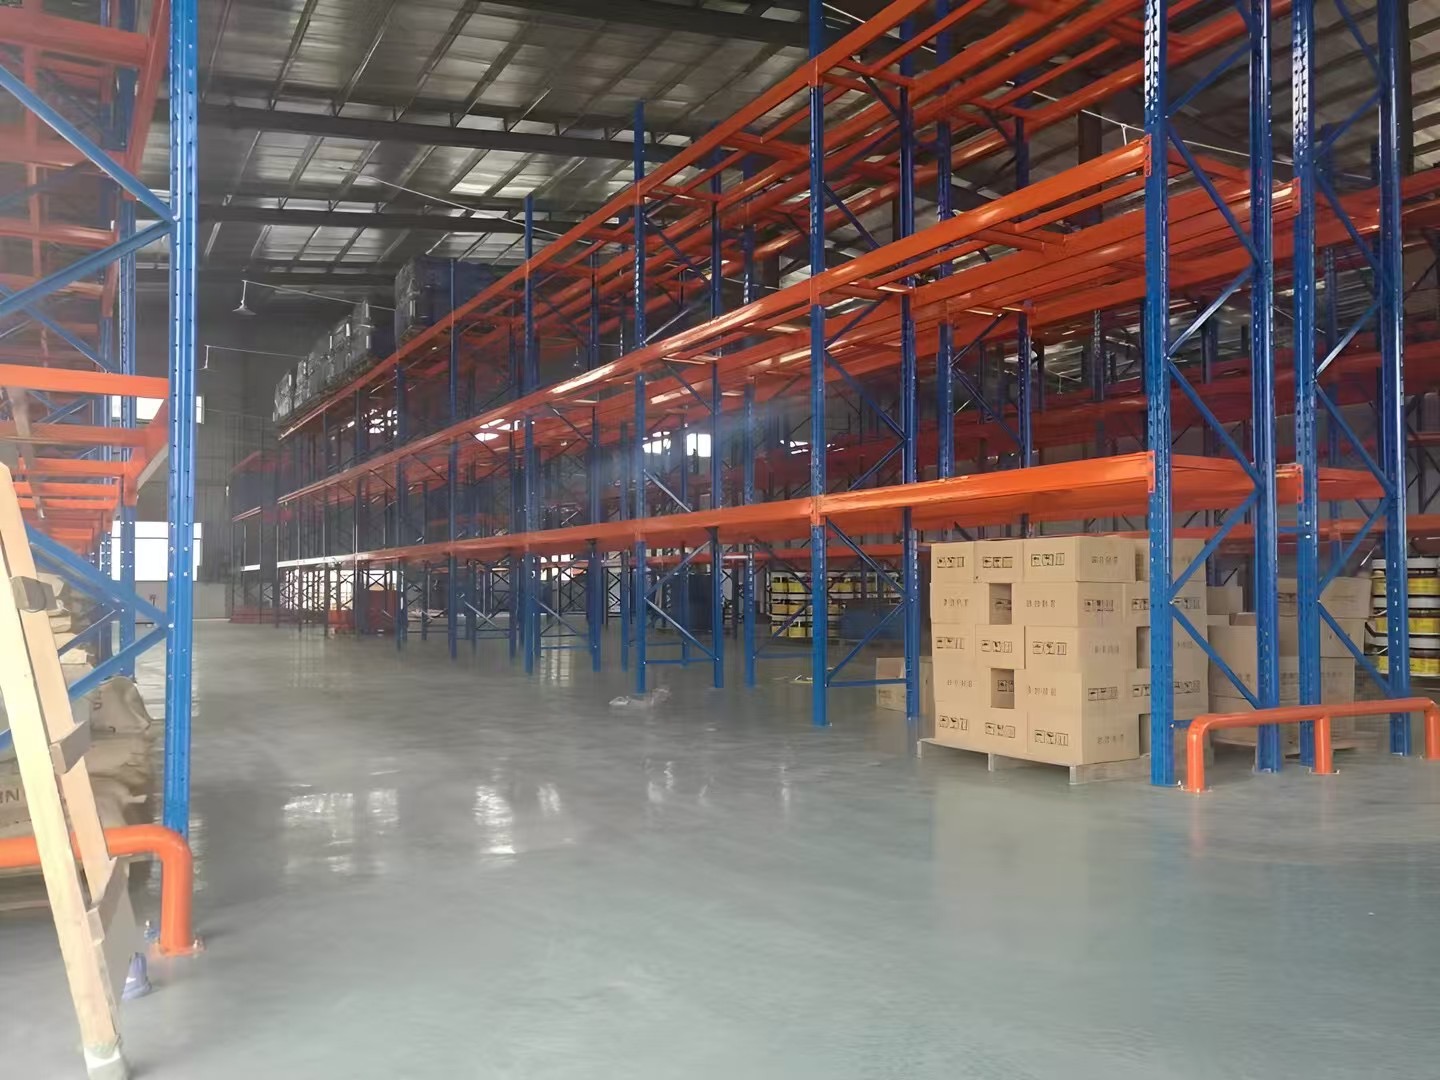
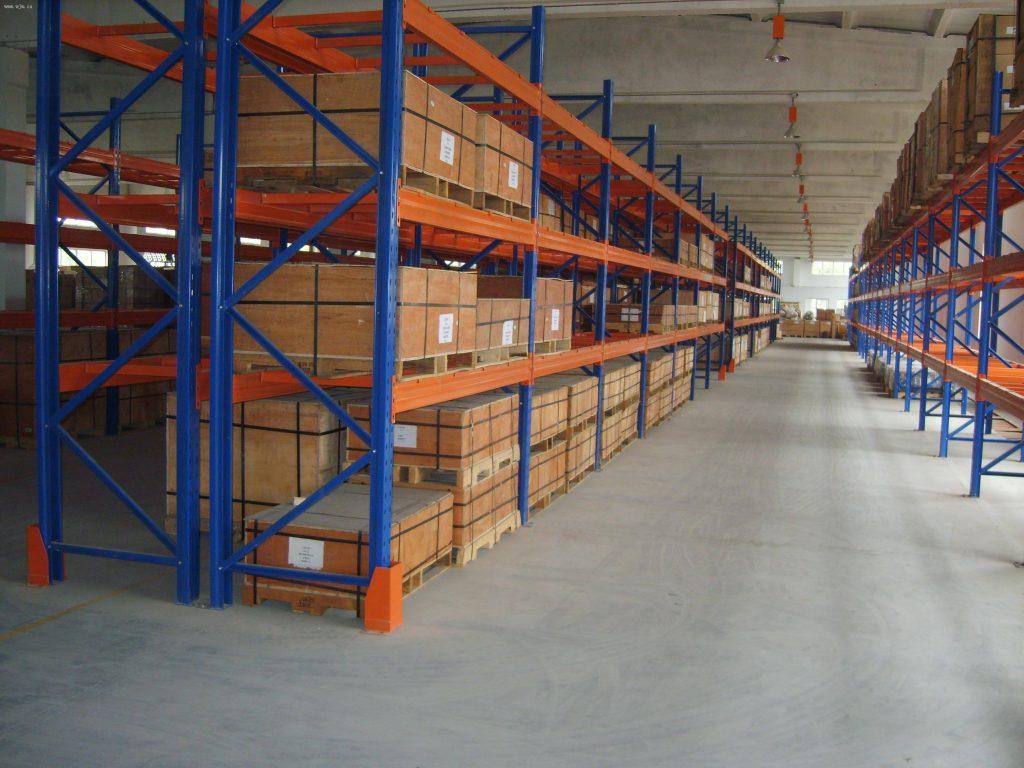
Each industrial warehouse racking system solves a distinct storage density versus accessibility equation. The table below summarizes engineering characteristics and typical load thresholds.
Selective Pallet Rack (Single-Deep): Direct access to every pallet, FIFO/LIFO flexible. Beam capacities range 1,500–4,500 kg per pair. Upright frame sizes: 80x60mm to 120x110mm, with steel gauge 1.8–2.5mm. Optimal for high-turnover SKUs (>12 picks per day).
Double-Deep Rack: Two pallets deep, requiring reach truck with extended forks. Increases density by 30–40% vs selective but reduces accessibility (LIFO per bay). Requires precise pallet alignment to avoid beam impact.
Drive-In / Drive-Through Rack: Continuous lanes (3–6 pallets deep) with common rail supports. Forklift enters the lane. Drive-in = LIFO; drive-through = FIFO (load/unload opposite ends). Ideal for uniform, low-turnover SKUs (e.g., 6–10 turns per year).
Push-Back Rack (Cart-based): Each lane holds 2–4 pallets on nested carts with inclined rails. Loading pushes previous pallets back; unloading gravity feeds forward. LIFO, 70–80% density improvement over selective. Cart rollers require annual lubrication.
Pallet Flow Rack (FIFO): Wheel or roller tracks with speed controllers. Loads from rear, discharge at front. Supports high-volume perishables (first-in-first-out mandatory). Lane depths 8–20 pallets. Brake rollers maintain controlled descent (0.3–0.5 m/s).
Cantilever Rack: For long, bulky items (pipes, lumber, sheet metal). Arms extend from a single column row. Load capacity per arm: 500–2,500 kg, arm length up to 1.8m.
When evaluating industrial warehouse racking systems, first calculate the inventory cube utilization: multiply pallet positions by load height and compare to total warehouse volume. Many operators achieve only 35–45% utilization; engineered rack configuration can raise this to 68–75%.
Professional specification of industrial warehouse racking systems demands verification of five load path components:
Upright frame compression capacity: Determined by steel grade (e.g., S280GD, S350GD), cross-section shape (closed tube vs open channel), and perforation pattern. Perforated uprights reduce weight but require careful buckling analysis per EN 15512.
Beam-to-upright connection: Keyed or bolted? Keyhole connections allow tool-less adjustment but lose 15–20% load capacity compared to bolted connectors under dynamic forklift impact. For high-seismic zones (IBC category D/E), bolted connections mandatory.
Horizontal & diagonal bracing: “X” or “K” patterns. X-bracing provides better torsional resistance but restricts pallet overhang. K-bracing allows wider beam spacing but requires thicker gauge to maintain rigidity.
Base plate & anchor pattern: Floor anchors must resist uplift and shear. For a 10m tall rack, each upright experiences 8–12 kN uplift under seismic or wind loads. Use chemical anchors (Hilti HIT-RE 500) rather than wedge anchors for consistent pull-out values in cracked concrete.
Floor flatness & leveling shims: Fmin tolerance per ASTM E1155. For racks above 8m, specify Fmin 35. Each upright requires shims to avoid eccentric loading. Missing shims cause beam deflection and premature joint fatigue.
Reputable manufacturers like Guangshun provide finite element analysis (FEA) reports for every custom configuration, validating deflection limits (L/180 for beams, L/240 for uprights). This documentation is mandatory for insurance approvals and seismic compliance.
One frequent error when procuring industrial warehouse racking systems is ignoring forklift turning radius and mast tilt. A mismatch reduces throughput by 25–35%.
Conventional counterbalance trucks: Require aisle widths 3.5–4.0m. Selective rack beam lengths 2.7m (two pallets) or 3.3m (three pallets).
Reach trucks (straddle type): Aisle width 2.7–3.2m. Double-deep reach requires 3.2–3.5m with pantograph extension 1.2m.
VNA (very narrow aisle) turret trucks: Aisle width 1.6–1.8m, guided by rail or wire. Increases storage density by 60% but demands Fmin 50 floor flatness and laser alignment of rack uprights (±3mm vertical tolerance).
Calculate effective cost per pallet position including aisle space: a selective rack system with 4m aisles uses 42% of floor area for aisles; a VNA system with 1.8m aisles uses 23% for aisles. Even though VNA rack components cost 25% more per linear meter, the overall land/lease saving often produces 18-month payback.
Industrial warehouse racking systems must conform to RMI (ANSI MH16.1-2021) in North America, FEM 10.2 in Europe, or AS4084 in Australia. Non-compliance voids worker compensation and property insurance.
Seismic design: For sites with peak ground acceleration (PGA) >0.2g, add base shear connectors, moment-resisting upright frames, and roof tie-backs. Ignoring seismic adds 12–18% retrofit cost later.
Fire protection: Rack storage affects sprinkler obstruction rules (NFPA 13). Flue spaces (transverse and longitudinal) must be maintained – typically 150mm between loads and 75mm between beams. Missing flue spaces cause water spray shadowing, increasing fire spread risk.
Column protectors & end-of-aisle guards: Mandatory where forklift traffic exceeds 20 passes per hour. A single upright impact repair costs $500–$1,200 plus product damage. Install steel sleeves (6mm wall thickness) bolted to floor.
Load signage & capacity labels: Each beam level requires permanent placard showing uniform distributed load (UDL) per shelf. Missing labels are a primary OSHA citation.
During a 2023 warehouse audit, 34% of inspected industrial warehouse racking systems had at least one missing anchor or damaged upright. Guangshun offers annual rack safety inspections using laser scanning and ultrasonic thickness testing, generating a prioritized repair roadmap.
Upfront pricing of industrial warehouse racking systems represents only 55–65% of 15-year TCO. The remaining factors:
Installation & commissioning: $8–$15 per square meter for layout, anchor drilling, and leveling. Complex VNA installations cost $25–$35/m².
Annual maintenance: $0.50–$1.20 per pallet position for torque checks, bolt tightening, and coating repair. High-corrosion environments (cold storage, chemical) require biannual inspections.
Reconfiguration costs: Every time SKU mix changes, 15–25% of beam levels may need repositioning. Labor cost $2–$4 per beam move. Systems with 100mm column pitch reduce reconfiguration effort by 40%.
Downtime due to structural failure or near-miss: Average rack collapse incident costs $350,000 in lost inventory, equipment damage, and business interruption (source: Material Handling Institute, 2024).
Example: A 5,000-pallet selective rack quoted at $120/position ($600k total) but with thin 1.8mm uprights and no seismic design. Estimated TCO over 12 years = $780k. A comparable engineered system from Guangshun at $148/position ($740k) with 2.5mm uprights, bolted connectors, and seismic bracing results in TCO $810k – only 3.8% higher, yet with 20-year design life and zero failure risk.
Many distribution centers operate with 30% fast-moving SKUs, 50% medium movers, and 20% slow movers. A single industrial warehouse racking system rarely optimizes all three. Use a zoning approach:
Zone A (fast movers): Selective rack at ground level, beam heights 1.5–2.5m, closest to shipping dock. Reserve 15% of positions.
Zone B (medium movers): Double-deep or push-back rack at mid-level heights (2.5–6m), served by reach truck. Occupies 50% of positions.
Zone C (slow movers / reserve): Drive-in rack in high-bay area (6–12m), served by combination turret or articulated forklift. Occupies 35% of positions.
This hybrid layout reduces average storage cost per pallet by 27% compared to uniform selective rack, while maintaining FIFO for perishables. When designing such zones, ensure transition aisles accommodate both reach truck and counterbalance turning radii.
Q1: How do I determine the correct upright frame gauge for my load conditions?
A1: Calculate the maximum column load: number of beam levels × maximum pallet weight per level × 1.5 (impact factor for forklift operation). For a 4-level rack with 1,200 kg pallets, column load = 4 × 1200 × 1.5 = 7,200 kg. Refer to manufacturer’s load charts: 2.0mm steel (S350GD) supports ~8,000 kg at 6m height; 1.8mm supports 6,000 kg. Always add a 1.25 safety margin for uneven loading.
Q2: Can I mix rack components from different manufacturers to reduce cost?
A2: Not recommended unless the components have certified interoperability (FEM 10.2.09). Beam connectors and upright hole patterns vary between brands. Mixing creates weak points: a 5mm mismatch in connector engagement reduces beam capacity by 40% and voids structural warranty. Use a single supplier like Guangshun for end-to-end compatibility.
Q3: How often should industrial racking be inspected?
A3: Per OSHA and RMI standards: visual inspection by trained staff monthly; detailed engineering inspection annually (or after any forklift impact). High-traffic warehouses (>100 forklift passes per aisle per day) require quarterly inspections. Use a three-level classification: green (no damage), yellow (cosmetic – monitor), red (structural – offload immediately).
Q4: What is the maximum beam deflection allowed for safe operation?
A4: EN 15512 specifies deflection limit L/200 for beams (e.g., for 2,700mm beam length, max deflection 13.5mm). RMI ANSI MH16.1 allows L/180 (15mm). Deflection beyond these values indicates overloading or insufficient beam gauge. Use laser displacement meters during load tests to verify compliance.
Q5: Are there special considerations for cold storage warehouses (-25°C)?
A5: Yes. Steel becomes more brittle. Specify low-temperature impact-tested steel (Charpy V-notch test at -30°C, minimum 27J). Use galvanized coating (Z600) rather than powder coating because powder coating cracks under thermal cycling. Anchor bolt torque must be verified annually due to differential contraction between steel and concrete.
Q6: How do I calculate the payback period for upgrading to VNA racking?
A6: Formula: Payback (years) = (VNA rack additional cost + floor upgrades + turret truck premium) ÷ (annual lease saving from reduced square footage). Example: Switching from 4m aisles to 1.8m aisles reduces required area by 35%. For a 10,000m² warehouse at $120/m²/year lease, area saving = 3,500m² = $420,000/year. Upgrade investment $600,000 yields 1.43-year payback.
Selecting industrial warehouse racking systems demands engineering rigor, not just price shopping. Evaluate load path integrity, seismic and fire compliance, floor interface, and material handling synergy. Use TCO models that include installation, maintenance, and reconfiguration. Partner with manufacturers like Guangshun that provide FEA certification, seismic design, and full documentation for insurance and regulatory approvals. Request a site-specific engineering proposal that matches your SKU velocity profile and throughput targets—your warehouse’s performance over the next two decades depends on it.

 Wechat
Whatsapp
Wechat
Whatsapp


